

 Isn't this a cute skirt? :)
 So this style with the thick elastic band is really in right now.
 I started by cutting 4 pieces with 2 bottom and 2 top pieces each for front and back.
 Next serge together the top and bottom, and do it again so you now have 2 pieces. If you don't have a serger just use your sewing machine.
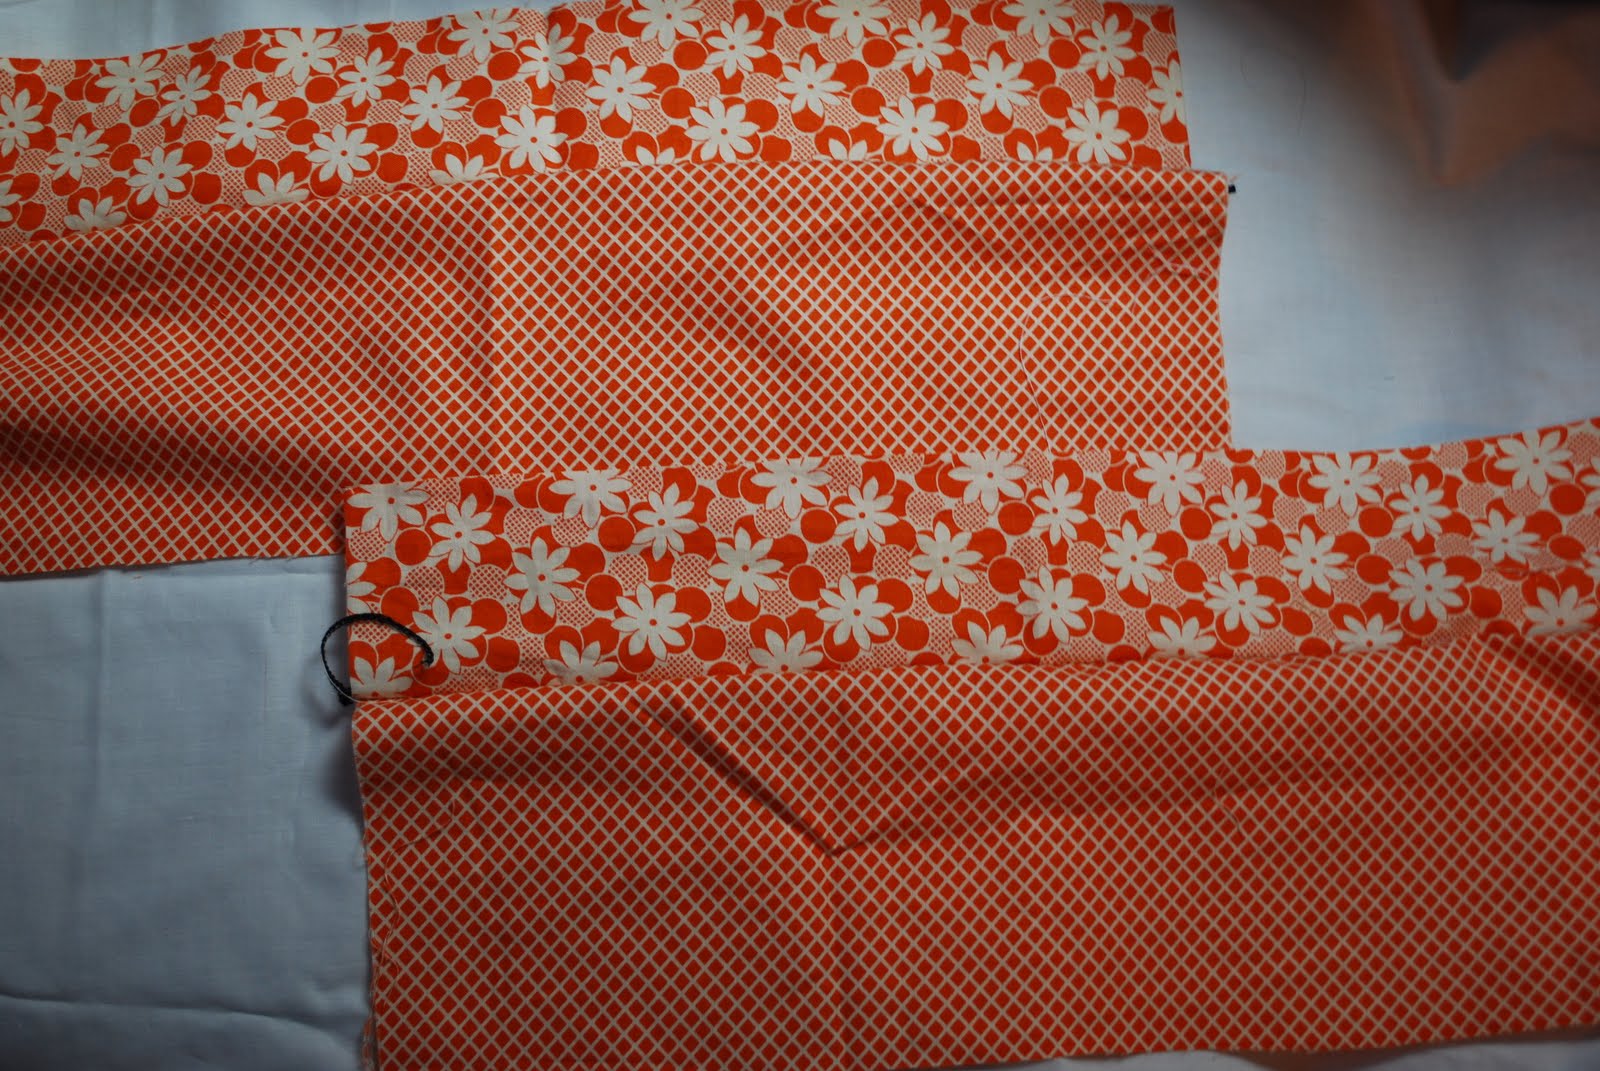 When your done you should have this.
Then put right sides together and starting from the bottom cut at a slight angle. Keep your scraps, I used mine to make a rose clippy to match.

Here's what it should look like.

Next serge the sides together making sure the middle seams line up is the most important.

After the side seams, I serged the top and bottom to give it a nice clean edge. On your sewing machine you can use the zig-zag option.

Now, you have this.
Next, I bought wide , black elastic and cut it to the size of my babes waist plus one inch. Then I burned the edges with a lighter so that it won't ever frey.
 Now over lap the elastic about one inch and reinforce a square around it.
It should look like this when your done.
 Next, change to the biggest stitch length.
 You first need to gather the skirt a little to make it easier to attach the elastic. So, start at the side seam and continue to the next seam, leave some thread and cut.
 Then start again after the side seam until you reach the other side seam and leave a couple inches of thread again.
This is how much thread I usually leave myself.

Then start gathering and pulling and pushing it along.

You don't need it very gathered because the elastic band will do most of that.
 So above shows one side done and below shows both.
 Next, tie the loose ends into a knot.
Now lay your elastic band, and your skirt flat noticing the two ends and two middles.
 First pin the two elastic band edges to the two outer skirt edges. I only pinned onto the fabric about a half inch.
So this shows the two sides pinned.

Now pin the two middle together.
 It should look like this.
Next pin in between all the 4 corners.
 It should look like above. Next change your stitch length back to normal.
 Mine has the option to keep my needle into the fabric once i take my foot off the pedal. Do this if you can because it will make it easier to hold it in place while you pull and stretch at both ends.
 Start sewing and while you do pull from the back and the front until the fabric and the elastic are the same length. I stop in between each pin and adjust my hands so I can pull with both hands hard enough again.
I
It should look like this.
 Next hem the bottom and you are done!

 I'm off to NYC for the rest of the week, have a good one!

It should look like this.
 Next hem the bottom and you are done!
 I'm off to NYC for the rest of the week, have a good one!


4 comments:
I am soooo excited about this! Thanks for sharing your skills:)
I love this!!!
http://sweetcakesxo.blogspot.com/
Thank you for sharing this! you are awesome. I was wondering, did you use a ball point needle for the elastic? I found the elastic broke when sewing over it.
Just wrote a blog about your tute. Thanks!
http://carmenbeeblog.blogspot.com/
Post a Comment