Craft Cook Sew Decorate Image Map
Showing posts with label paint. Show all posts

Friday, July 23, 2010

Bathroom Before and After...

I painted and decorated my friends bathroom for her and I'm finally  posting about it.  Her walls were already a light tan and I first measured with a level and taped stripes about 15 inches apart.
I left the tan and added a turquoise color for the other stripe.  It's actually the same color I used in my Craft Room.


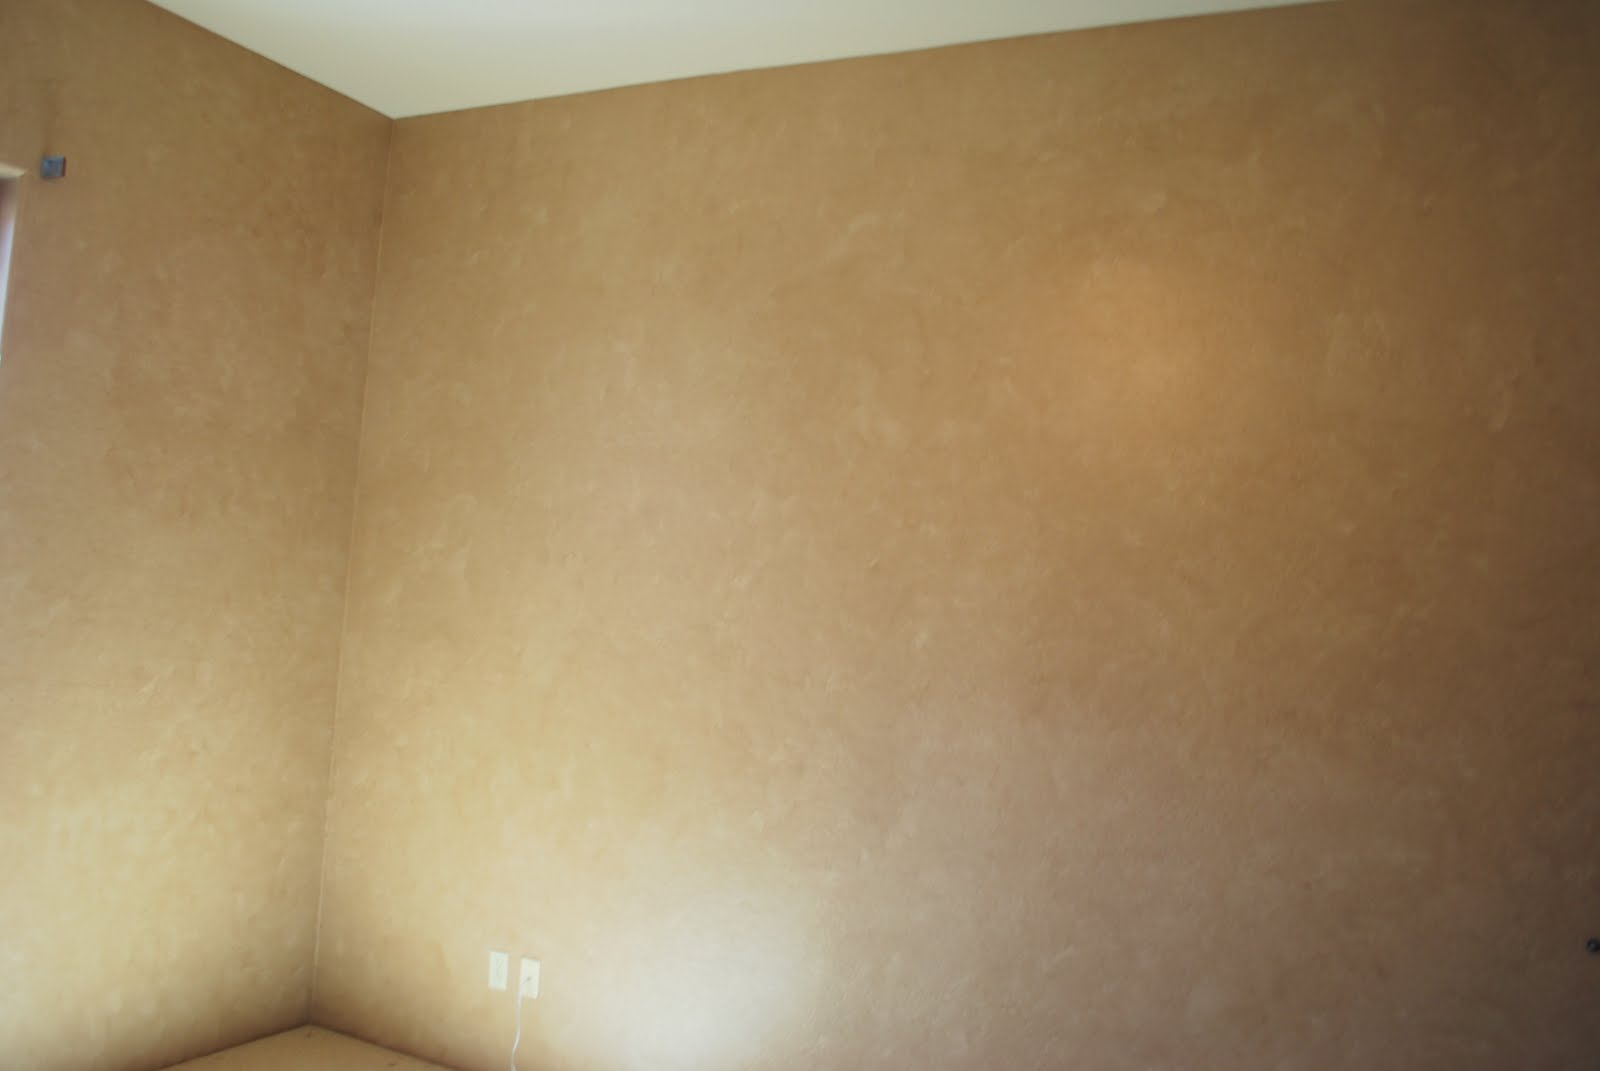
I didn't get a picture of the actually glazing of the walls, but I'm going to do a post on that really soon.  I ragged Ralph Lauren "Smoke" antique glaze all over the walls and heavily in all the corners and edges.  Next, I took my friend Ashley to my favorite place, Hobby Lobby.  We loaded up her basket with so many fun things, and the best part was that almost everything was half off. 


I also convinced her husband to change out the light fixture. Seriously, it changed the whole look of the bathroom.  I love the cute leopard lamp that adds a warmth and homey (?) feel to the bathroom.

I have the same house and always wanted to do something fun with the ceiling because of how it arch's up a little, and loved these iron corners. They add fun and uniqueness to this little powder bathroom.


I love her gold ornate mirror that she already had that was just nailed right above the existing mirror.  We were so excited when we found the blue and black chandelier plate below.  It went so well with all the colors we had.
Hobby Lobby has so many fun iron pieces that you can use to add height and depth.  We screwed this cute scrolly iron piece to the wall above two tin pictures of vintage bath tubs.  It helped  fill in the space and made it fell like one big piece of art.
My favorite part of this bathroom was the wall above with the three different frames of vintage furniture.  We got such a good deal on those from the clearance section.  They were about ten dollars each and add so much character.  We added a shelf below with a plant to give it some warmth which was in a cute turquoise pot.  We found those cute square frames and added ribbon of various lengths that hung on the knobs of the shelf.
We even changed out the old toilet paper roll for this fun iron one which was $4.  Seriously, I need to buy stock in Hobby Lobby because it is such a gold mine to me. 

Tuesday, June 15, 2010

It's Give Away Time!!! Celebrating 100 followers...

I finished this pillow today, and I thought it turned out really cute! I tried to keep the colors neutral enough so that it could go anywhere or in any ones home. 
 I tried the iron-transfer paper for the first time using one of my chandelier sketches.  Let me just say that it was a trial and error process.  It took me three tries to get my printer to print it right because I didn't choose the right paper (photo paper-glossy is what worked) when printing it.  And it was a bummer it only came with three pieces of paper because I had other plans, oh well.  Then I really wanted to have the clear paper, but somehow bought the kind with a white background.  So I just decided to go with it.
The center was way too white for the look I was going for so I glazed it by brushing it on and then wiping it off carefully with a wet rag.  I love when an accident turns into a new creation :).


Here is my vintage chandelier print that you are welcome to use if you'd like.  


The black lace bow with cream fabric rose is only pinned on.  So if you don't want it on you can stick it on your shirt, ha.

So here's the deal: 
For an entry into this give away leave a comment below and your comment number will be your number in the drawing.
For a second entry you need to be a follower on facebook or my blog.  If you are both then that will get you two more entries.  Which means you need to leave a comment for every entry you earn so that it will get you another number.  Get it?  Your comment can just say your name if you want.
For an "extra credit" entry you can post about this give away on facebook or your blog and leave a comment telling me so.
If you are my mom and all this entry stuff is freaking you out and sounds really hard then just click on comments, then click the anonymous bubble if you don't have a google account, and leave your name, K? :)
The winner will be picked a next Tuesday.

Sunday, May 23, 2010

Craft Room Part 3...


I finally painted my craft room this weekend and I love it.  I spent a lot of time trying to find the perfect colors to have the result of a Tiffany Blue.  My end result was different than I was planning, but I like it even more than I thought.  I'll be showing tomorrow how I actually have a linen/raked look using two colors on the wall, but ended up glazing over it.  But I'll show tutorials on how to do both faux finishes-How to glaze/antique walls and how to give walls a linen/raked look.
We also put up a fan which was much needed  for cooler air.  I'd much rather have some snazzy chandelier, but let's get real, we live in a desert.
You can also see the chicken wire textured faux I have in my kitchen that I'll never change because I love it so much.  Yes, my craft room is right by my kitchen.  Weird I know, but that's just the way it worked out.  I'm  going to put up some drapes so that I can close it off when I need too.
I'm going to start the window treatments for this room this week. I can't wait!
The feel of the room is so calming now.  I did love the red when we used it as a dining room, but it felt so closed in once I was using it as a place to create things.  This new color is so makes the room open and peaceful.
Here's a little close up of the glazed walls.  I'm making a framed peg board with dowels to hold all of my thread for this space below.
I also have plans to add black crown moulding and trim to the shelving.  And I'm planing on adding some fun fabric to the faces of those black and teal bins to tie the whole room together.
Goodbye Romantice Red, hello Tiffany Blue- I love you.

Wednesday, May 19, 2010

How to do a two color faux...

I just painted last Saturday for a client that I had painted for last year.  I have done just about her whole house except this room.  It's her nursery for grandkids/office.  I did a two colored tan faux on the walls and this is how I did it.
The colors I used are about 3 shades apart from each other.  I painted the base coat using the dark color.  Then I masked off floor to ceiling with paper and tape because this technique can be kind of messy.
Then I got out my handy two sectioned bucket and poured each color, and added some water to both.  I always add water because the paint is way to thick to work with.
I just picked up this staining brush,which is lambs wool wrapped around a piece of wood with a handle, from The Home Depot.
To start off you dip into the dark color and rub it onto the wall in  an uneven square kind of shape.  I usually work with about a 2x3 foot space.  That way it's so big so that it won't dry while I'm blending.

Next, while the paint is still wet I take the lighter color and sort of hit and miss in that area. 

And then do it again and again until it has some highs and lows of light and dark.  But try not to over work.  It definetly takes some practice.
Depending on what your going for, it should look something like this.

When you go to the next section try not to do them in a perfect square, otherwise it might be noticeable when you stand back and look at it.
I wish I could have shown a picture with her things put back, but she said she'd email me one later.
Here are some pictures of walls that our family business has done over the years and I intend to give tutorials on how to do them. 

Monday, May 17, 2010

Framin' Fun!

My grandma just downsized and was getting rid of a bunch of frames, so I took the ones I thought had potential.  The one above was  dark wood, so I  painted and glazed it like my bench.  I also added a little gold detailing to it.  And I also did the same to a cute little one that is shown below.  I liquid nailed both of them around the peep hole, and I love it!  I crackled this door almost seven years ago and wanted to spice it up.  I have an ugly screen door that goes in front of it that I'm trying to decide what to do with.


I thought it would be fun to also put a frame around the doorbell, and this cute "F" I picked up at Hobby Lobby.  Gosh I love that store!