Craft Cook Sew Decorate Image Map
Showing posts with label little girl apparel. Show all posts

Thursday, August 15, 2013

Halloween Shirt and Skirt Ideas...

I made these last year, but they still fit, yay. 
For the skirt I bought some orange satin, and some spider web black sheer material and layered them together.  I did a simple elastic band.  Then I just added purple polka dot ribbon to the bottom edge.
For the shirt I bought a plain black t-shirt and cut out the orange satin and sheer black web material into an octagon.  Then I just lined the outside edge with the polka dot material.


Minnie/Mickey Mouse Shirt Ideas For Disneyland...

I made some of these shirts last March, but needed to make a new one for Taylor's first time to the "happiest place on earth."  It is so easy to do and so cute for Disneyland.  It's best to find a shirt solid shirt you already have and some scrap material.  I turned the material to the back side and drew with a pen a mickey mouse head.  Then I cut it out and pinned it to the front.

Then I sewed it along the edge about a quarter of an inch in.

Then I made a sparkly bow and sewed it to the front and now it's a Minnie shirt.

Below is one I made earlier and I embroidered Minnie Mouse to the front also.

We went to Disneyland with my Mother-in-Law so I made her one to match us :).

Here's mine.

And here they are in action!

Here are some I made last Halloween!


Wednesday, August 7, 2013

Ruffly Romper and How To Make Ruffles...


I found this cute little romper at Wal-Mart.  I love these little packages of lace from JoAnns that you get by all the thread.  They have so many different colors, ranging from orange to purple.

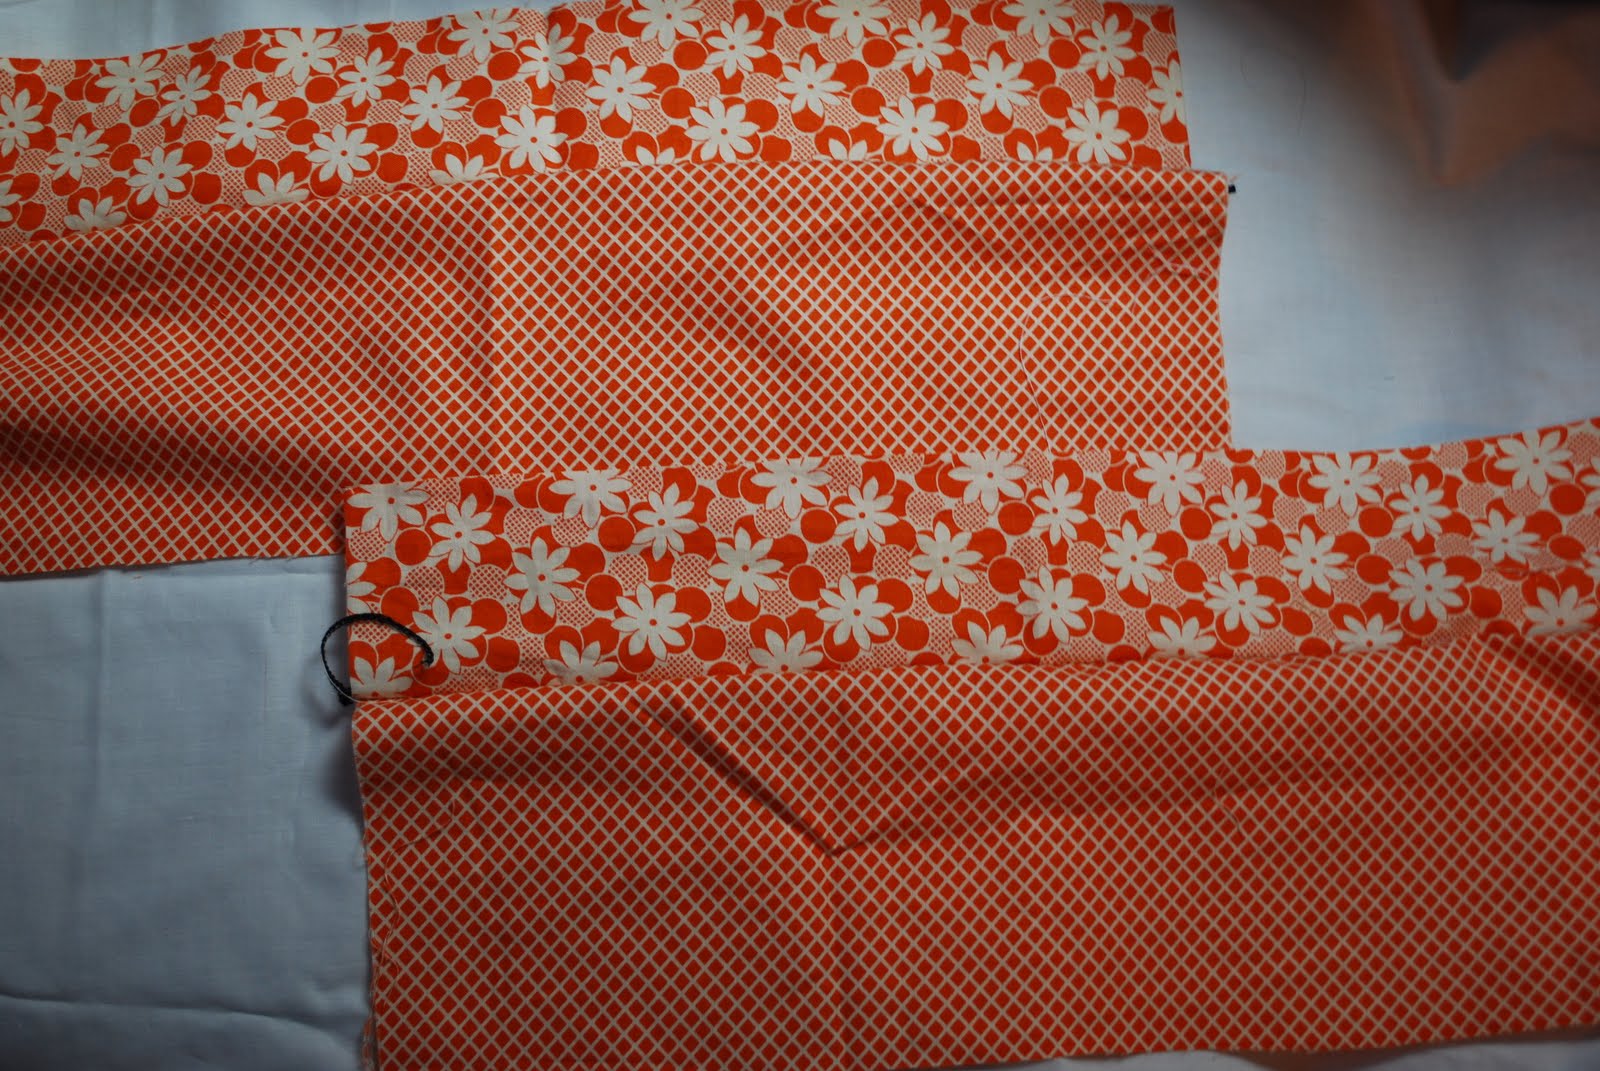
So I cut them into three strips and angled the ends, and each one was a little bigger than the next.


Next, starting at the edge of the lace, backstitch, and then change your tension knob to about a 5-7, and your stitch length to as big as it can go.  If you can't figure this out go HERE for gathering the old fashioned way :).


It should look like this and leave some length of thread so you can tie then ends in a knot.

Tie in a knot and trim edges.
Next starting from the smallest piece on top, pin it to your desired clothing.
And finish all three strips.
Then make sure before you sew it on that you change your tension knob back to a 2 and a 1/2.  That's what I normally sew with.  And change your stitch length back to normal.
Then proceed to attach your lace to the clothing, backstitching both ends.
So flippin cute, right?  But wait...


I added some silk flower pins and I'm in love.  Is that weird to be in love with a romper?
To learn how to make these darling flowers click HERE.
Here is some more tanks I made with the ruffles.  I liked them so much I made myself some tanks with ruffles.
And I really loved the mustard yellow on the hot pink so much I made myself one with a matching skirt.
Please give it a try it's super easy!  To see new posts of mine click HERE.

How to make a gathered skirt with wide elastic band.

Isn't this a cute skirt? :)

So this style with the thick elastic band is really in right now.


I started by cutting 4 pieces with 2 bottom and 2 top pieces each for front and back.


Next serge together the top and bottom, and do it again so you now have 2 pieces. If you don't have a serger just use your sewing machine.


When your done you should have this.


Then put right sides together and starting from the bottom cut at a slight angle. Keep your scraps, I used mine to make a rose clippy to match.


Here's what it should look like.


Next serge the sides together making sure the middle seams line up is the most important.


After the side seams, I serged the top and bottom to give it a nice clean edge. On your sewing machine you can use the zig-zag option.


Now, you have this.
Next, I bought wide , black elastic and cut it to the size of my babes waist plus one inch. Then I burned the edges with a lighter so that it won't ever frey.


Now over lap the elastic about one inch and reinforce a square around it.


It should look like this when your done.


Next, change to the biggest stitch length.


You first need to gather the skirt a little to make it easier to attach the elastic. So, start at the side seam and continue to the next seam, leave some thread and cut.


Then start again after the side seam until you reach the other side seam and leave a couple inches of thread again.


This is how much thread I usually leave myself.


Then start gathering and pulling and pushing it along.


You don't need it very gathered because the elastic band will do most of that.


So above shows one side done and below shows both.


Next, tie the loose ends into a knot.


Now lay your elastic band, and your skirt flat noticing the two ends and two middles.


First pin the two elastic band edges to the two outer skirt edges. I only pinned onto the fabric about a half inch.


So this shows the two sides pinned.


Now pin the two middle together.


It should look like this.


Next pin in between all the 4 corners.


It should look like above. Next change your stitch length back to normal.


Mine has the option to keep my needle into the fabric once i take my foot off the pedal. Do this if you can because it will make it easier to hold it in place while you pull and stretch at both ends.


Start sewing and while you do pull from the back and the front until the fabric and the elastic are the same length. I stop in between each pin and adjust my hands so I can pull with both hands hard enough again.


I
It should look like this.


Next hem the bottom and you are done!


I'm off to NYC for the rest of the week, have a good one!